 It’s a simple and humble apparatus, but it’s quite useful.
One of my first electronics projects was the excellent β and γ radiation detector kit, from MightyOhm. It’s all through-hole construction, a beautiful yellow PCB that’s easy to assemble and fun to play with.
Recently, though, I found myself interested in more than just a simple beep-beep-beep of incoming radiation - I wanted to actually compare the radioactivity of several samples without just manually counting the ticks. The kit does actually include a serial readout of the data, but I thought it would be fun to make something a little more visual.
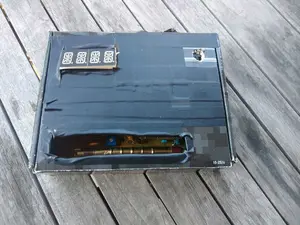
 The whole assembly was easy to house inside a single small cardboard box.
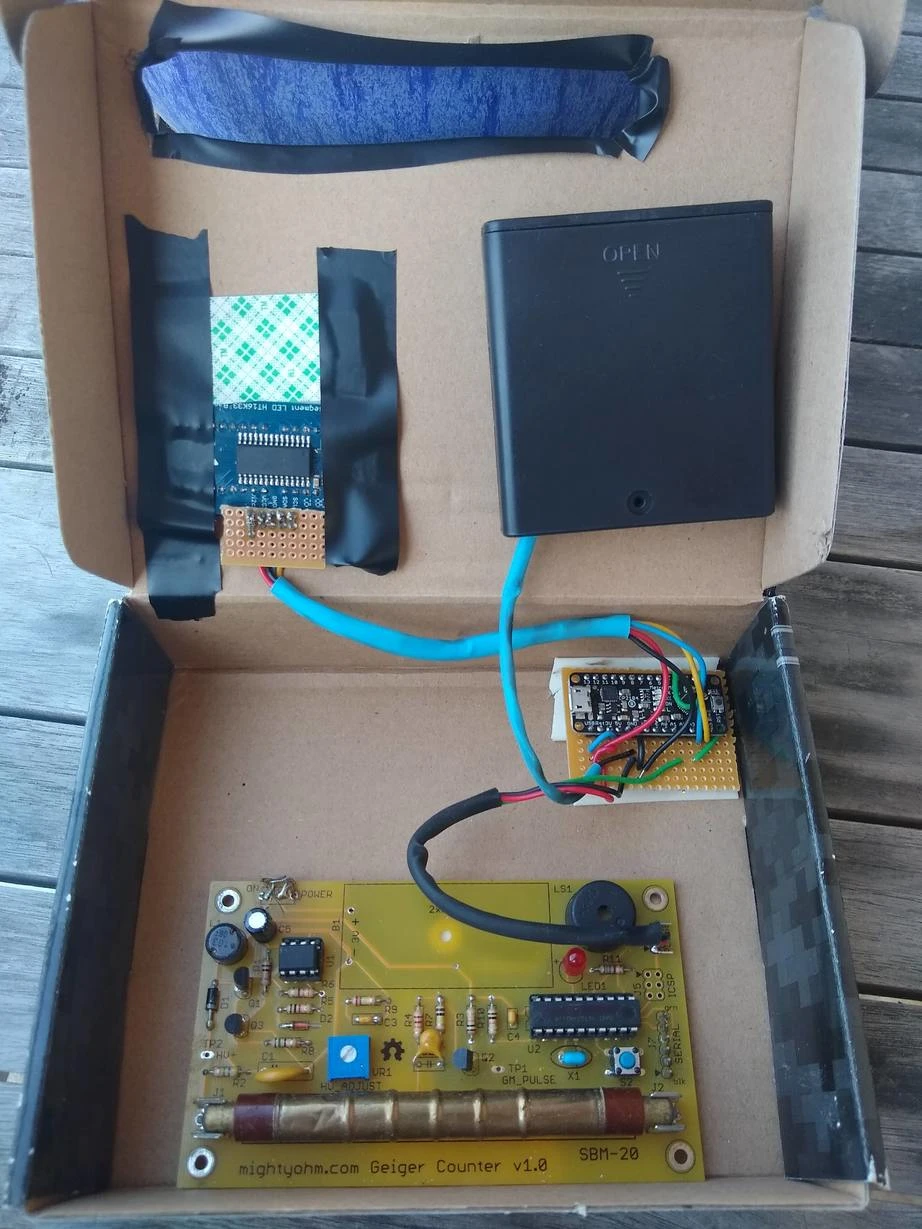
For this project, I picked up a display, with an I2C “backpack”, a Metro Mini microcontroller, and a battery pack with a 6V nominal output. Both the Metro Mini and the Geiger counter board can easily handle that input, so it works well and won’t sag so much as to brown out as the batteries age.
Once I’d done that, it was only a matter of a little soldering and creative cardboard-cutting to get everything situated inside an old RadioShack product box with a slit for incoming radiation. First, I soldered the four display elements onto the backpack board and added the headers to the Metro Mini. Then, I used a small piece of perfboard to connect the Mini Metro to the display and the pulse output from the Geiger counter. I also removed the battery pack from the Geiger counter and used the perfboard to route power everywhere it needed to go.
After putting on the heatshrink tubing and soldering everything together, I was ready to get coding. The method I ended up implementing uses interrupts to register pulse events from the sensor board. It simply takes a rolling average of the number of pulses over the last 30 seconds, in 42 steps per second. That allows it to easily detect up to the maximum displayable 9999 counts per minute. Actually displaying the reading is made simple by the I2C backpack board. All you really have to do is use the provided library to send commands to blank the display and set the right characters.
 The radiation emmitted by this uranium ore is mostly β particles,
which only go a short distance, so even a little air can block a lot of the signal to
the detector.
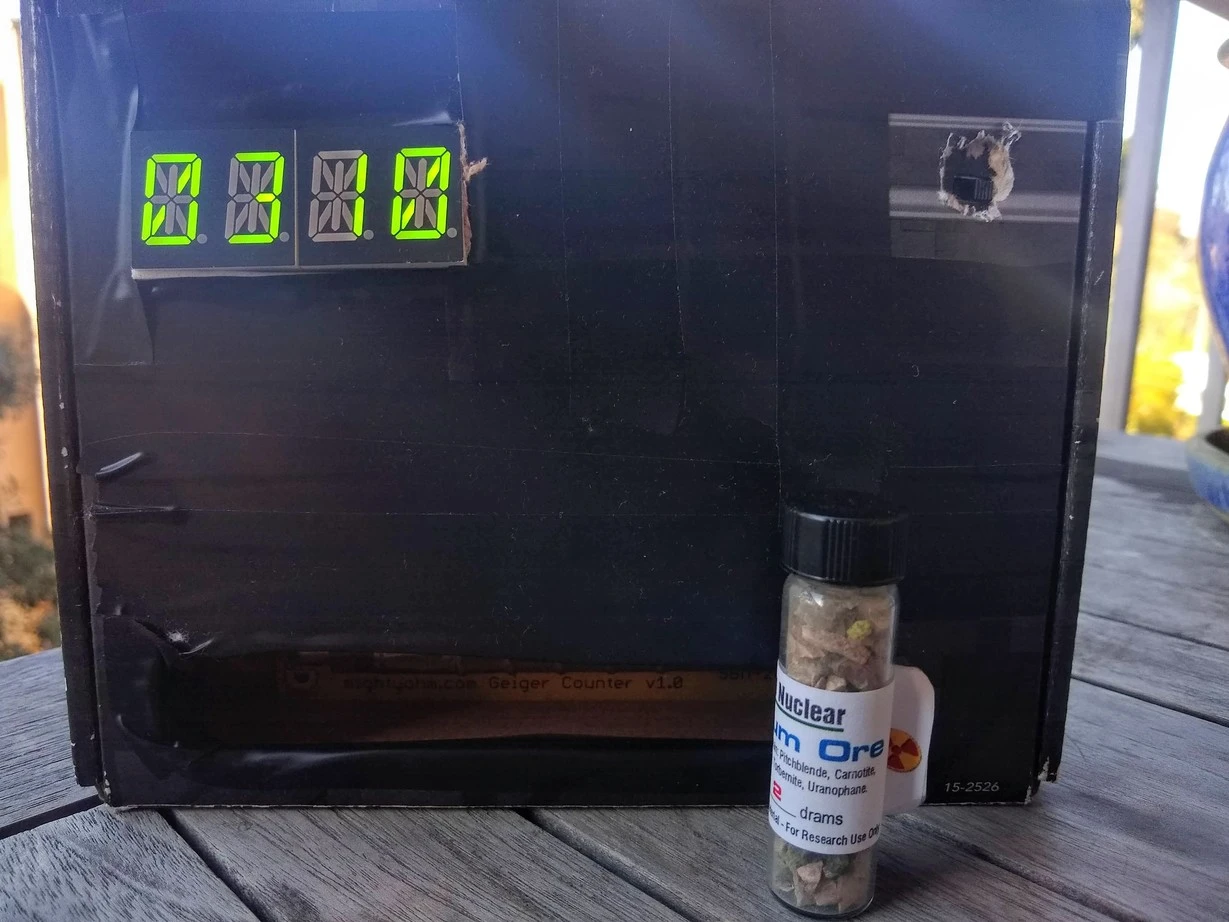
This means that the whole apparatus can be placed next to a sample for about 30 seconds, and the correct reading will show up on the screen. I also managed to snag a sample of uranium ore from United Nuclear which measures about 1500 CPM when in direct contact with the sensor. It was a fun project and will, I hope, prove quite useful in comparing mildly radioactive β and γ emmitters.
One interesting lesson was just how aggressively radiation falls off through air, water, and other common substances. The difference between two centimenters of air between the vial and the detector, and direct contact, is about 50%, and the glass of the vial appears to block about 30% of the signal. It’s pretty clear, then, why it is that the main danger of radioactive material is not mere exposure but ingestion or inhalation, which exposes sensitive organs to the radiation directly.
You can find the code for this project here. It requires the Adafruit support library for their I2C display backpacks.